This post is going to get into whats best to protect your leased vehicle. The average lease is around 3 years so maybe you don’t need a 5 year protective coating or you don’t want to spend $3000-$4000 on protection for a car you probably wont keep and you might not care about whether your paint is a show car finish, but you do need to protect yourself for that 3 years and maintain the value of your newly leased vehicle.
Lease return can be painful depending on which dealer you purchased your car from, some inspect more than others. I’ve heard customers get dinged up to $1500-$3500 in damages on their car for things like scratches, rock chips, interior bits scratched up or faded, etc. This doesn’t happen all the time but it can! So how can you protect your car, look good all the time, have easy maintenance but not break the bank? I will explain below after we go through our process on this vehicle.
I was excited for this car, this guy contacted us on instagram a month or so ago, he is from Texas and was moving to California. This customer leased a brand new Subaru WRX STI, he’s looking to have some fun but not be married to this car for ever since something newer, more fun and better will come along eventually.
The client wanted to protect his car when he got to California so he asked around on instagram where the best place to do that was and found us on referral from another Subaru client. Always exciting when you reach out of staters.
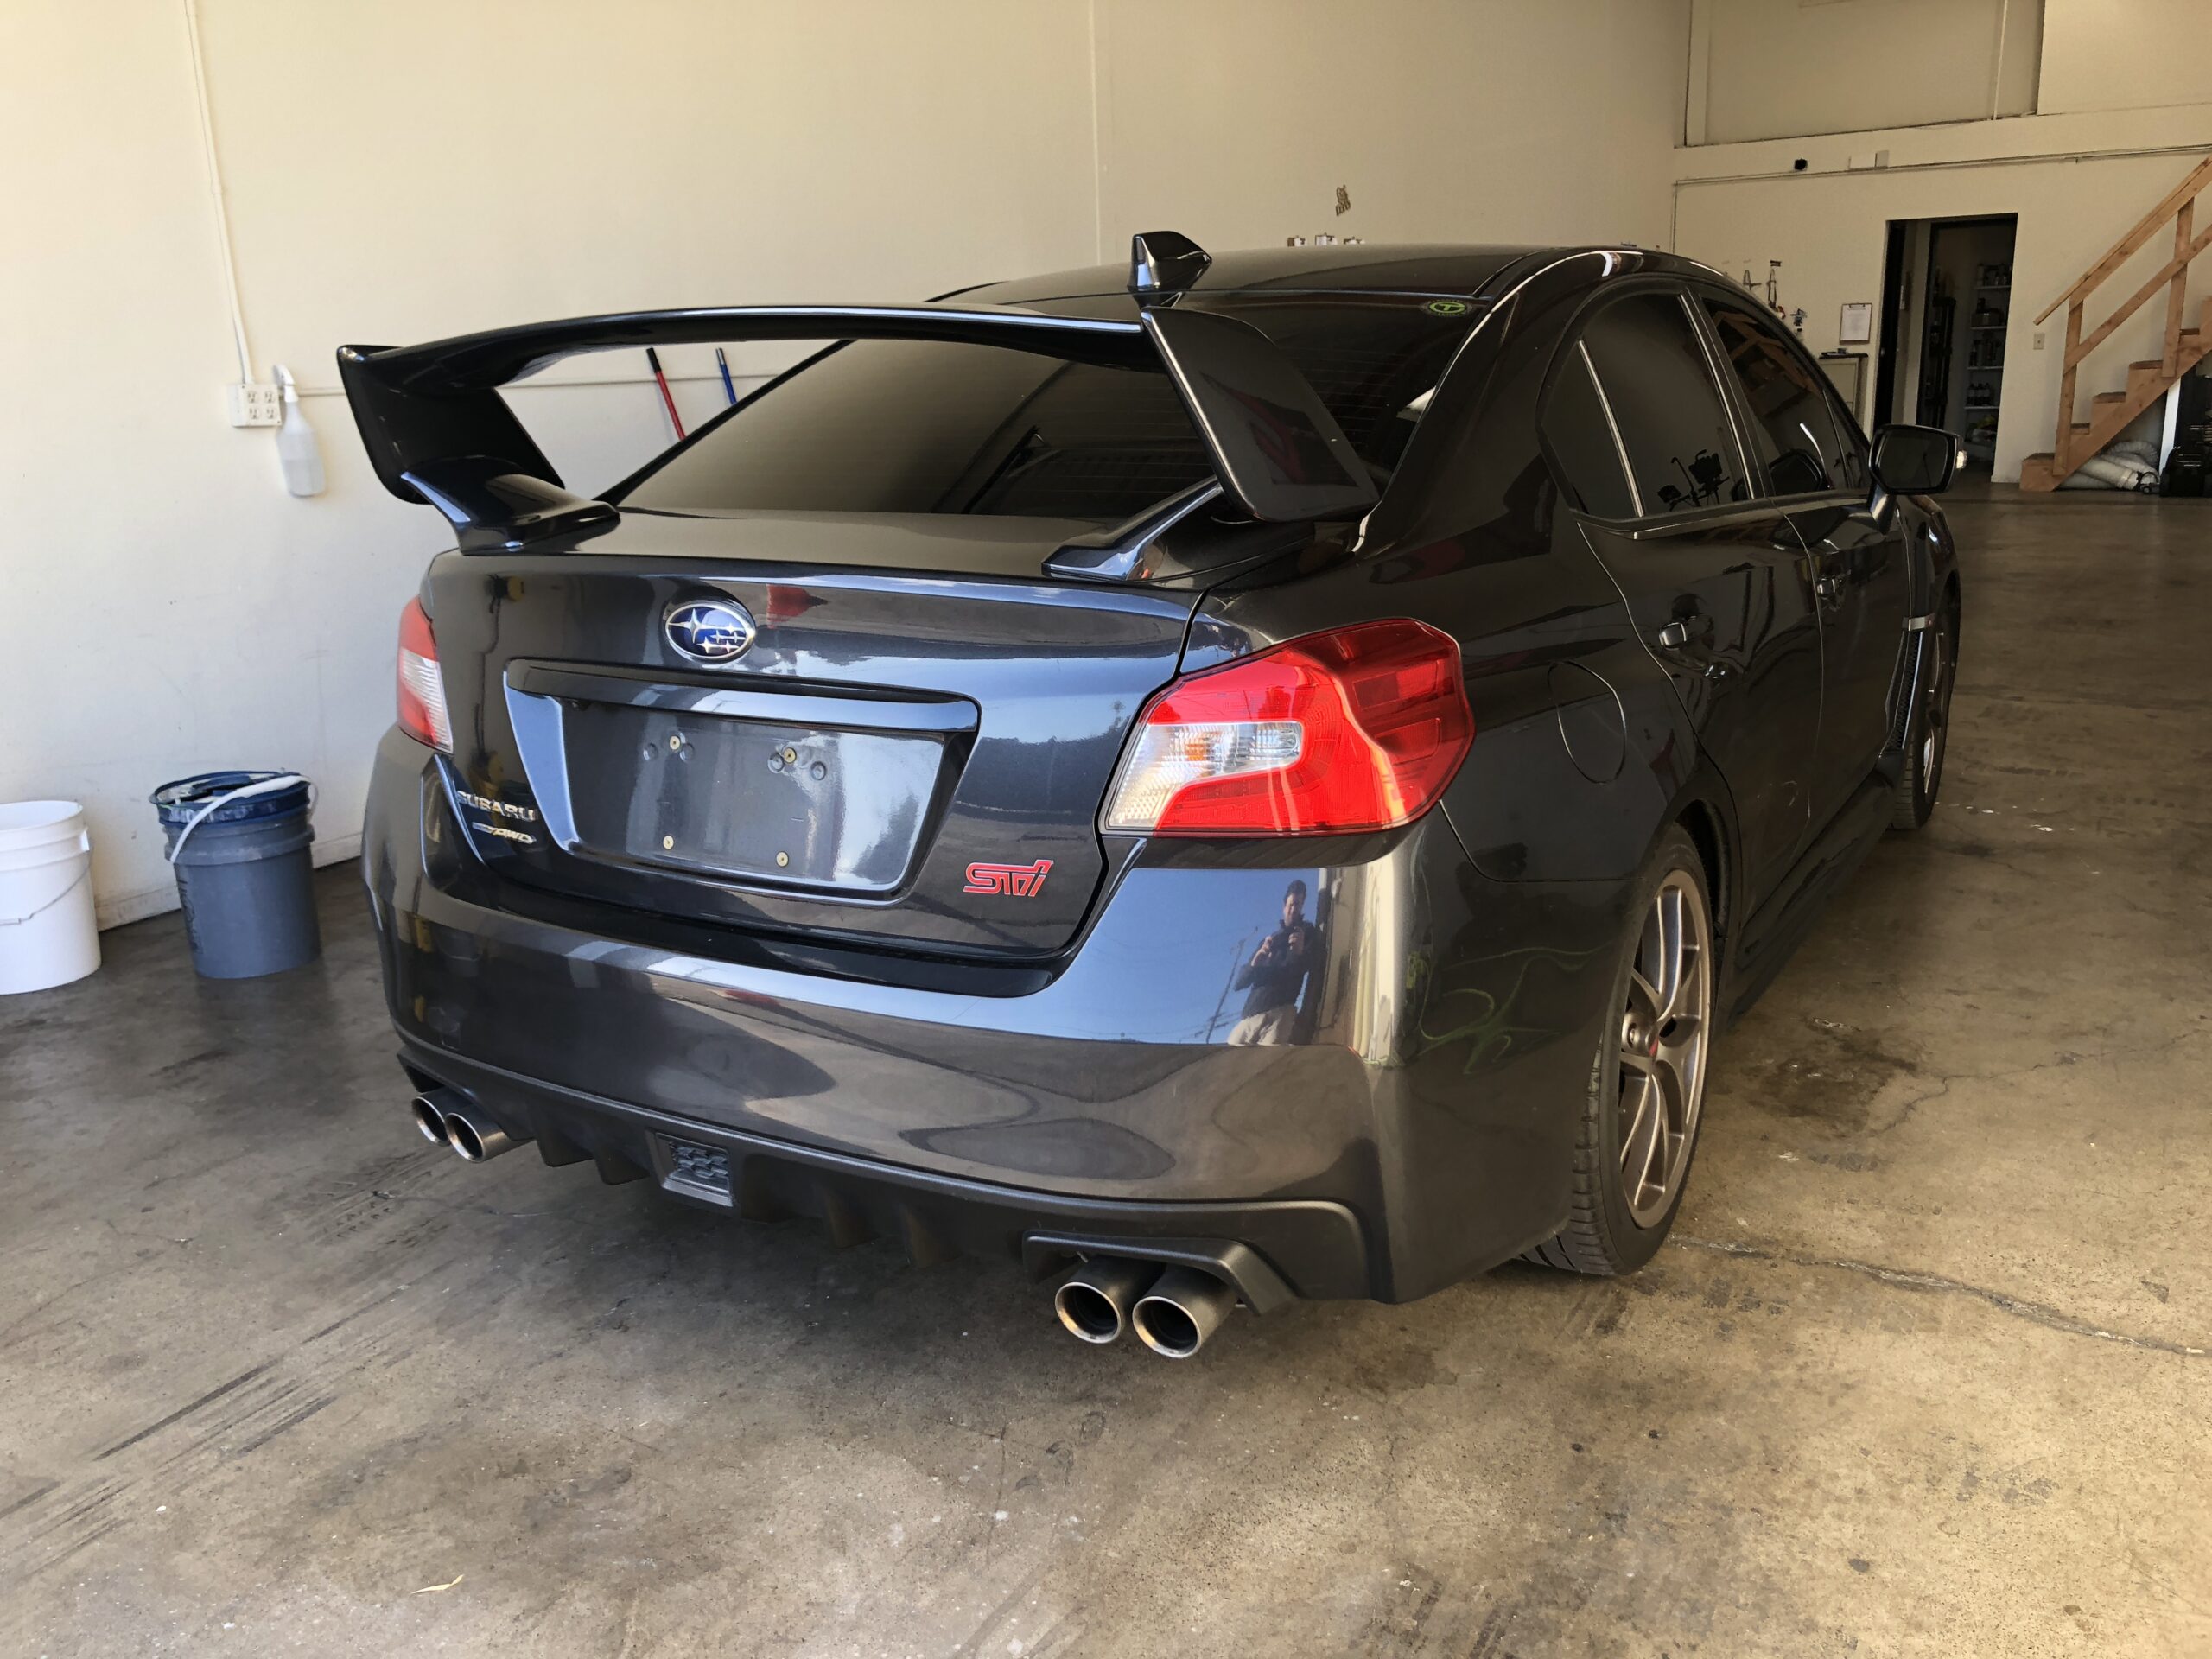
This car came as I expected from the dealership, covered in light swirls and scratches. Even though this car is brand new it probably rolled off the truck with some sanding scratches and buffing haze from the factory, invisible to the eye of most on a metallic paint job like this. A few more washes later and its got some swirls in the top layer of clear coat.
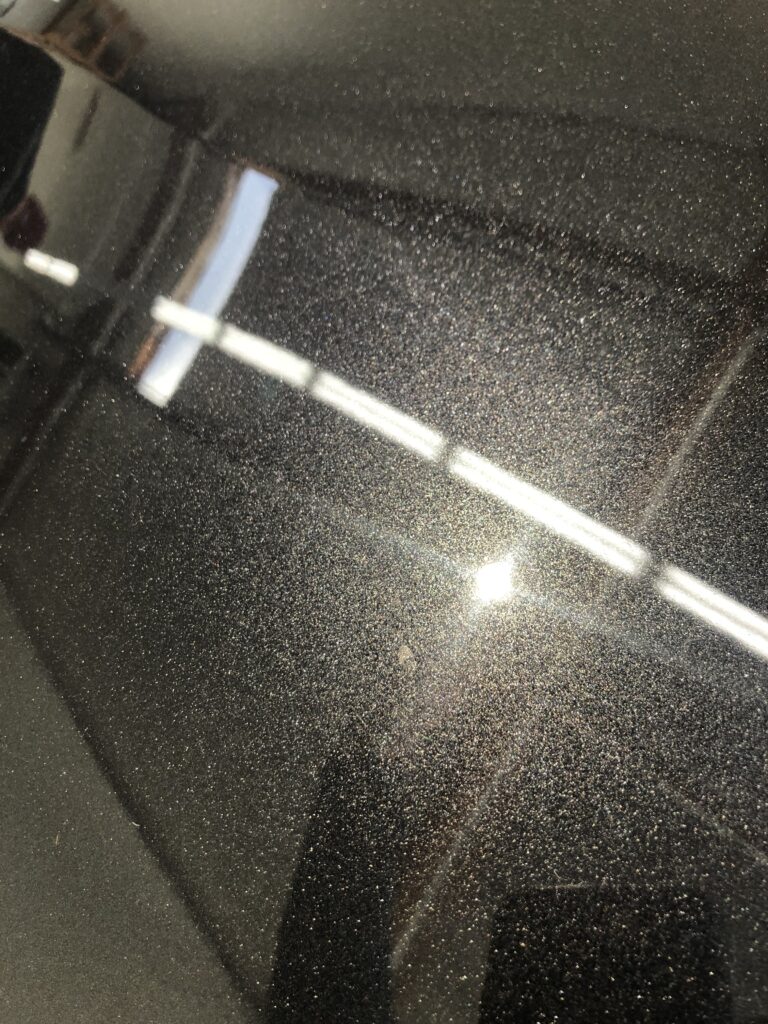
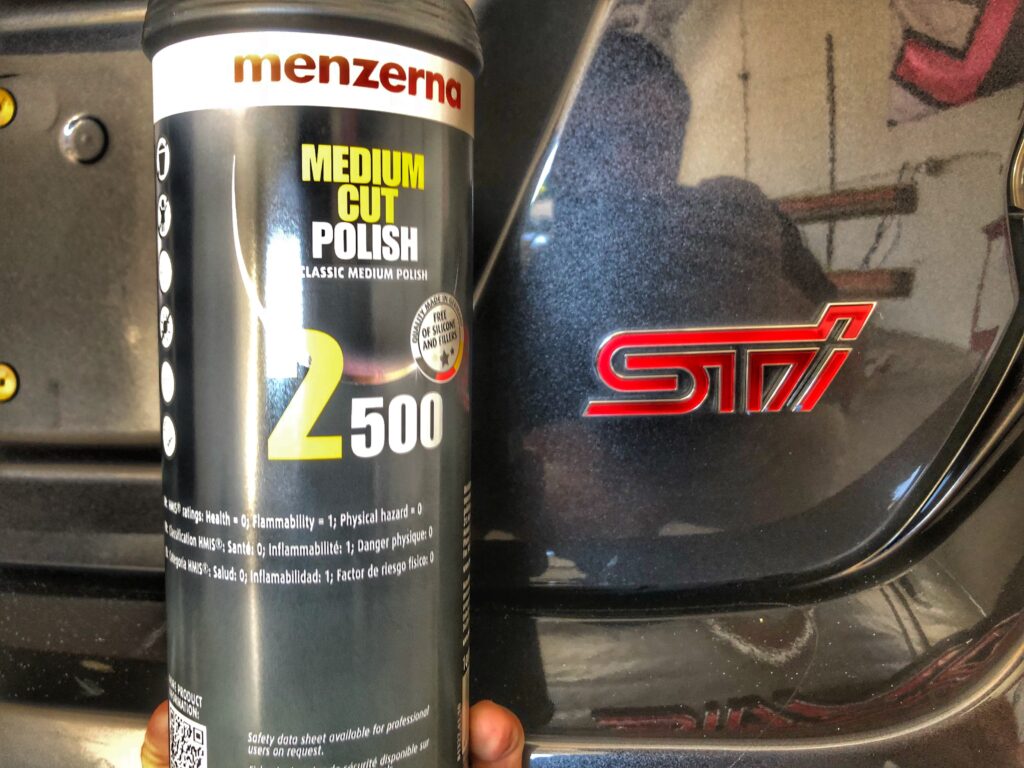
We discussed options with the customer and explained that for proper ceramic coating adhesion its best to have a flat and even surface so it would be best to do some paint correction before putting a ceramic coating on. For paint prep we went with what we called the Daily Driver Polish, which is an in-depth decontamination with Iron X snow foam soap, Iron X fall out remover and then a thorough clay bar with Feynlab prime which is a ceramic filled clay lubricant, and a solid one stage of paint correction with Menzerna 2500 on a yellow Rupes foam pad. This is a great combo to knock down swirls on the top surface and any scratching left behind the average customer would not see. The picture below depicts how the paint looks prior to polishing. Hard to even see the swirls in this color paint.
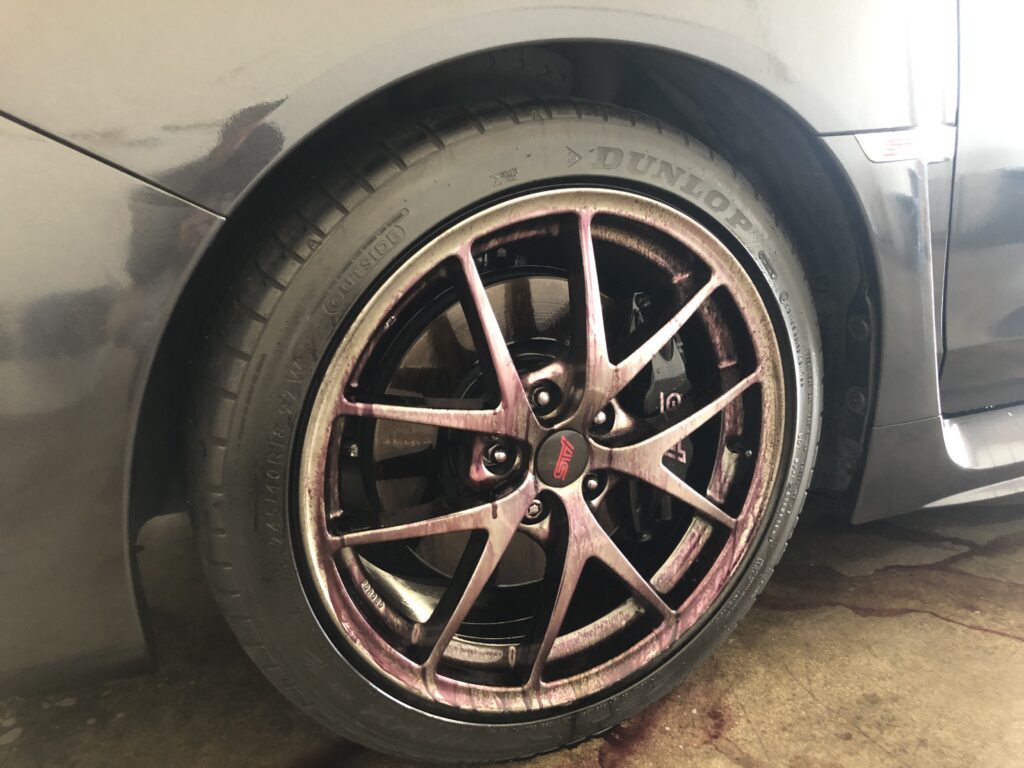
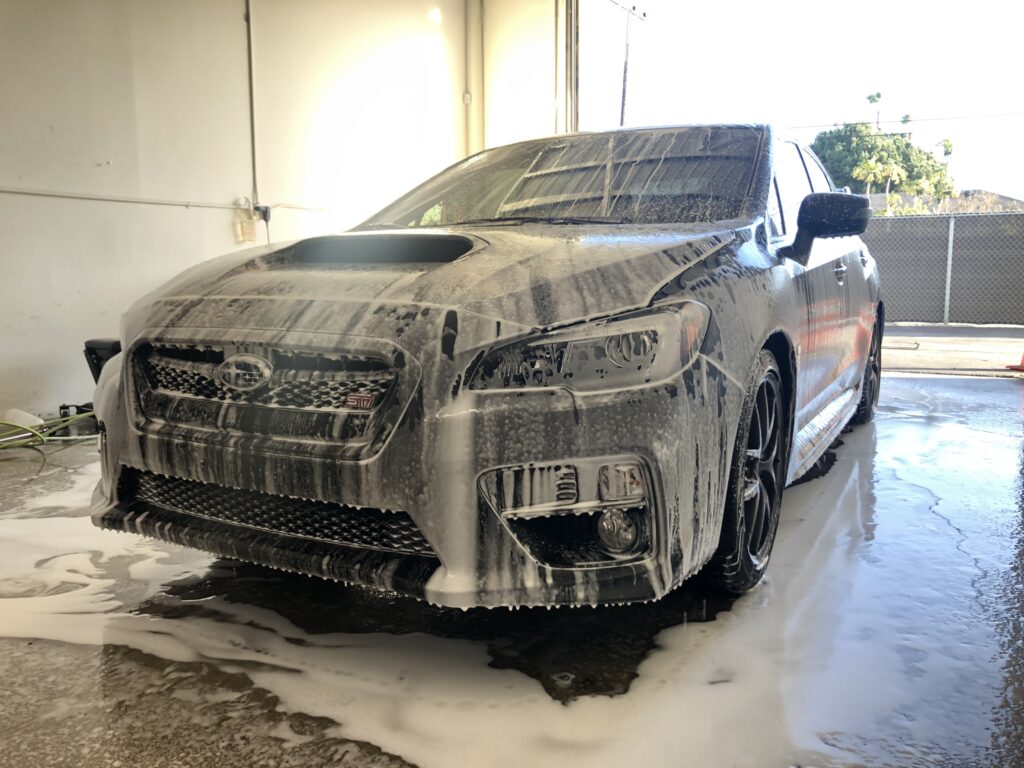
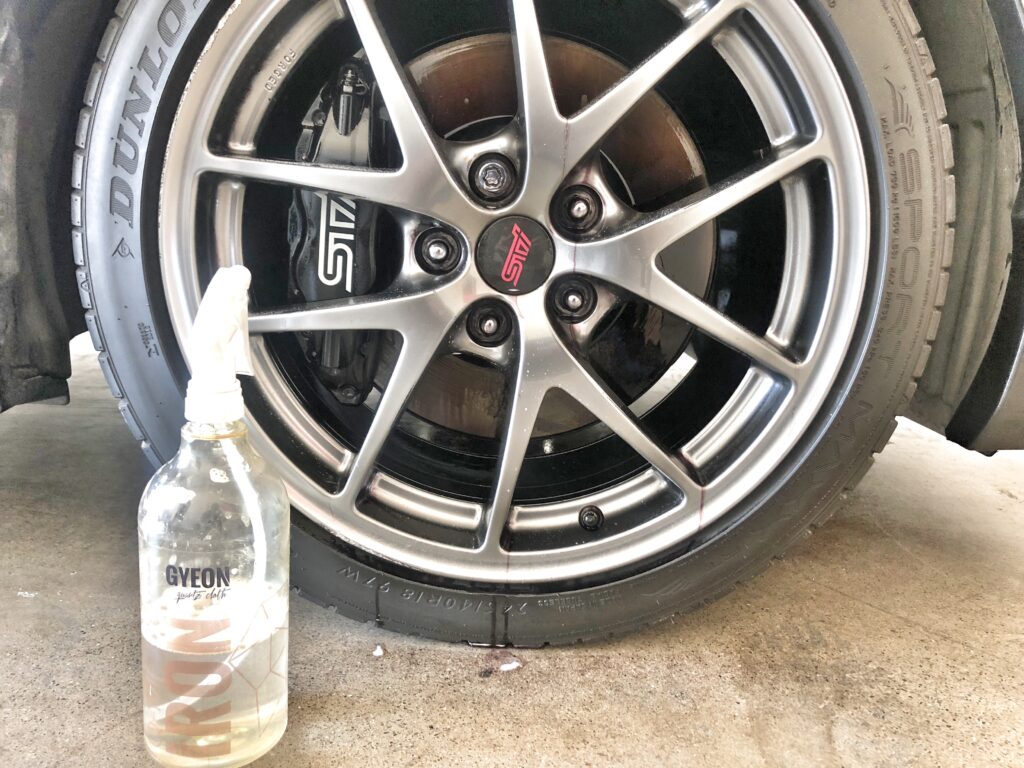
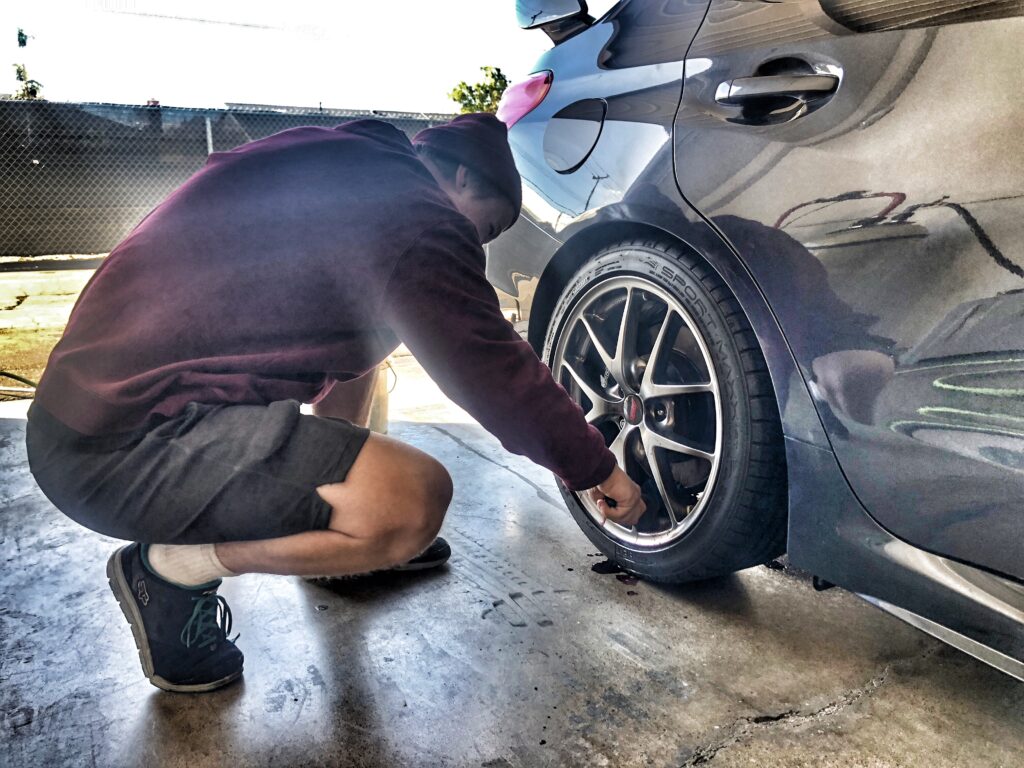
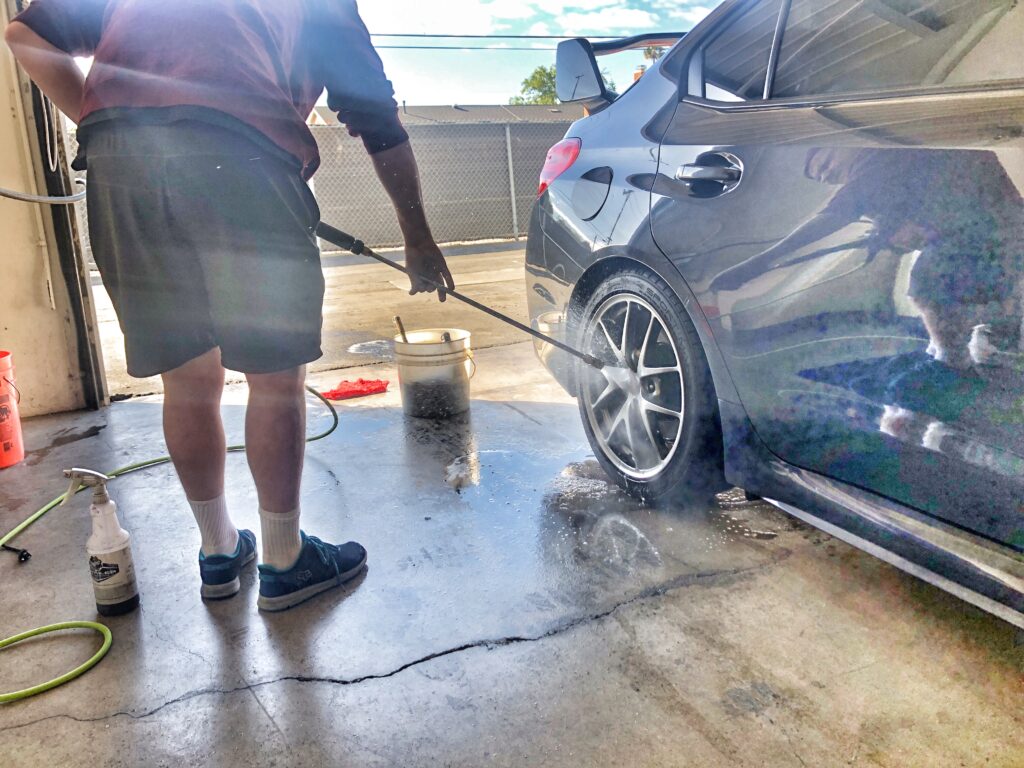
Below this is the first step which is soaping up the vehicle using Iron X snow foam, this is a soap that has a small amount of Iron X fall out remover in it so it can be a great starter for decontamination, it also foams up very nicely for videos and pictures. The actually Iron X is depicted in action on the wheel photo below. IT bleeds purple if there is contamination, this is sprayed all over the paint, wheels, and calipers. Doing proper decontamination can make paint correction much easier as you aren’t fighting through contaminants to get to the clear coat. The iron X stage can take up to a hour to do correctly.
Once the vehicle is washed, decontaminated and dried off, its time to start correction. So as I mentioned earlier we are using Menzerna 2500 and a Rupes yellow pad, this is not super aggressive and wont require a second stage of polishing to finish out. The firm backing on the yellow pad is great for removing swirls and 2500 being a medium grade polish has great cut and also great gloss without leaving micro scratches behind. Typically we also use a Rupes MK2 21 polisher although in the picture below my apprentice is using our 3 Inch rupes polisher to reach into smaller areas for proper finishing. We carry all sizes of tools but the 6 inch can be used on many applications and the 3 inch or our Rupes iBrid mini can reach into all the hard to get spots.
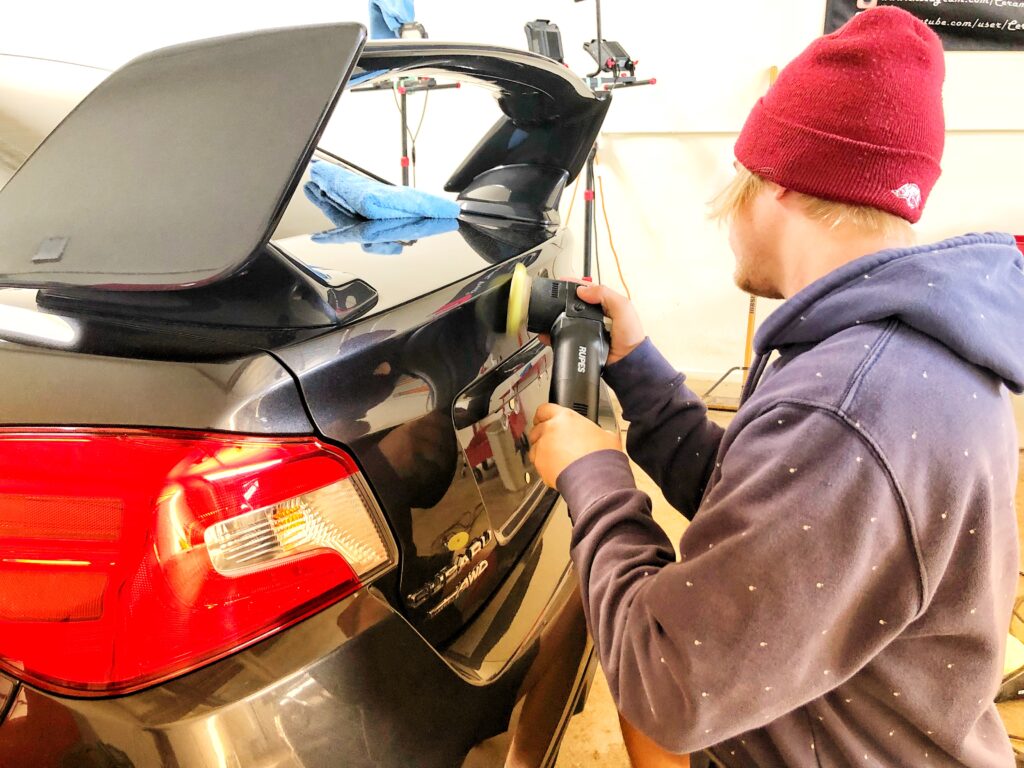
Its all in the little details. The right shop will have the right tools, the right products, and the motivation for perfection. Having small tools allow for us to reach into areas that might otherwise go ignored, and you’ll be looking at your car at that certain time of day when the light is just right and youll notice theres one tiny spot thats off from the others because it was just overlooked due to fitment, but not here! We hit every possible spot we can squeeze a pad into it.
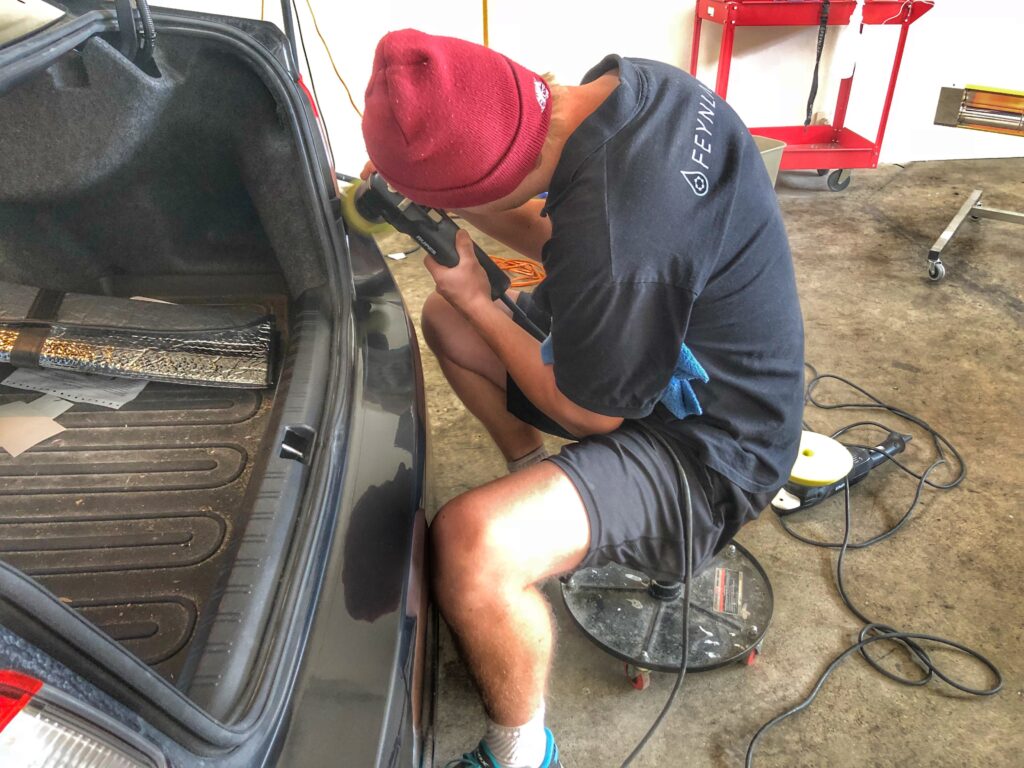
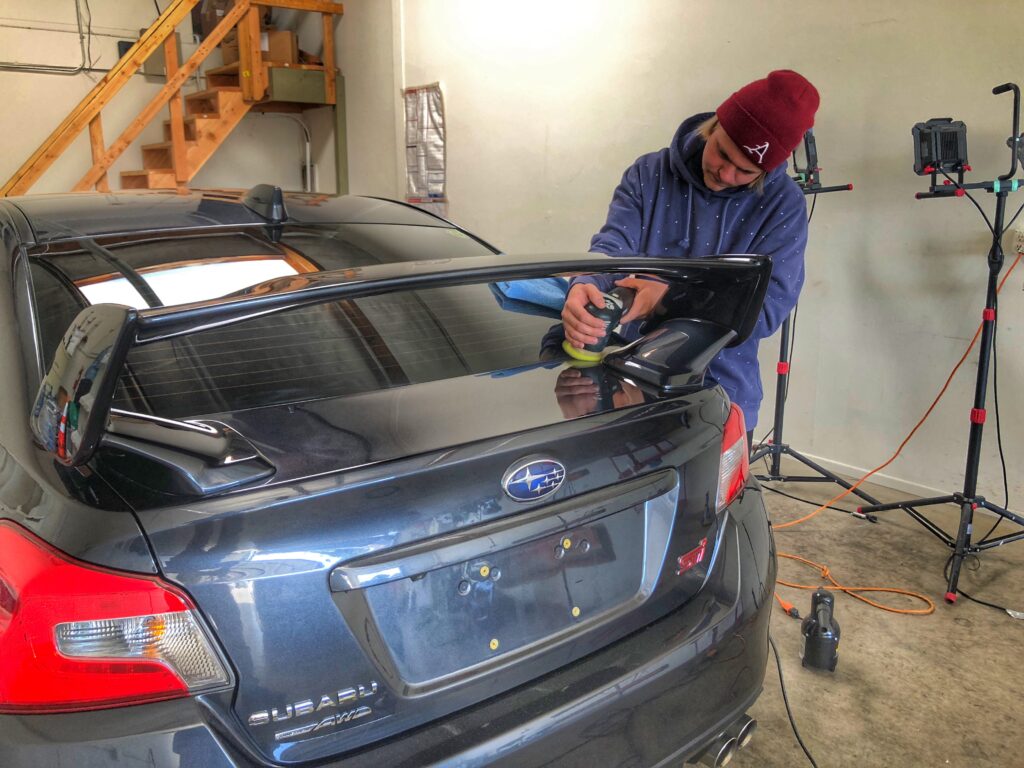
Down below here is a before and after of our one stage polish.
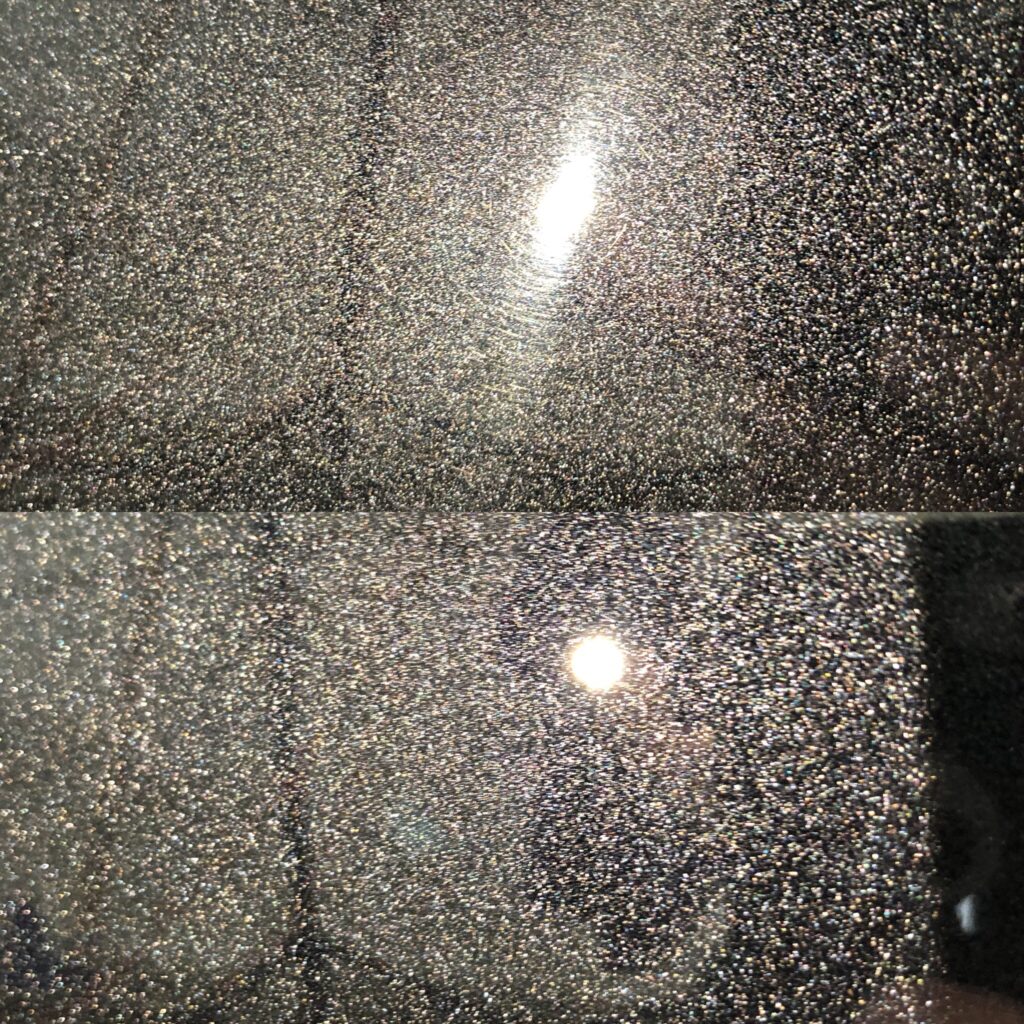
After correction is done, I’d say we have this paint about 75% flawless from just this single stage correction. Subaru paint is pretty easy to work with, we’ve got a lot of experience with them as well. I’m sure if I looked super close I would find some minor micro scratches but we’re not too worried about those as this isn’t a show car type detail.
Next step is Clear Bra/Paint protection Film. We use a company called Nano-Fusion, it is a very high gloss, low texture and clear film. IT stretches and wraps easily around edges of panels so we can go for that seamless appearance. Nano-Fusion also has a built in teflon coating for extreme gloss, chemical resistance, hydrophobic effect and ease of cleaning.
Many people confuse what clear bra and ceramic coatings do on their own, there are also installers who make false claims regarding both. Clear Bra/Paint Protection Film is there to protect you from rock chips and deep scratches, its important to have this on a leased vehicle so you can avoid damage to your paint which can cause you to lose money on your return.
You might think that you could just repaint your front bumper for cheaper but that can actually lead to devaluing your vehicle and a proper paint job on a front bumper for most cars is actually well over $1000 to match factory quality. Most people are used to seeing the insurance companies low ball body shop quotes when they are in a car accident so they get the idea that repainting is cheap, its really not. For the cost of repainting your bumper, you can probably apply front bumper bra 3 separate times over the course of however long it takes for the film to be beat up enough for you to want to change it. If a dealership notices your bumper to be slightly off color or have more orange peel than other panels they may ask if you’ve been in an accident and even if you just repainted for rock chips, 9/10 times they will just accuse you of not reporting it to your carfax and dock you some money. Clear bra can save you this hassle and keep the value up on your car! It doesn’t always look perfect but it is there to protect!
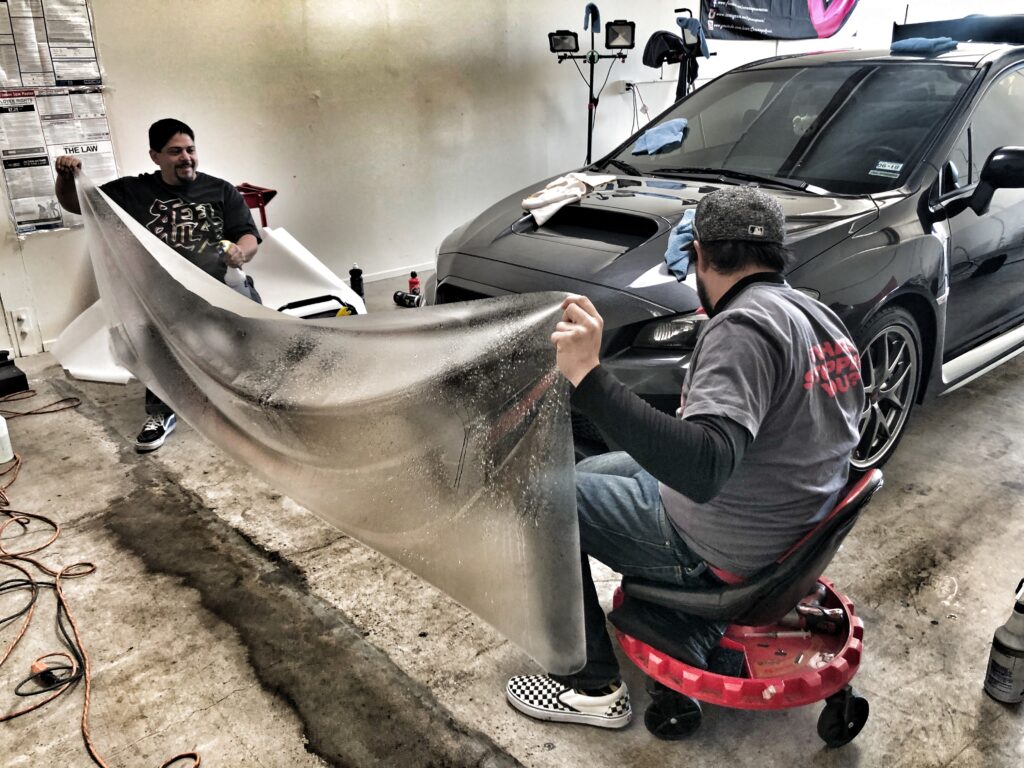
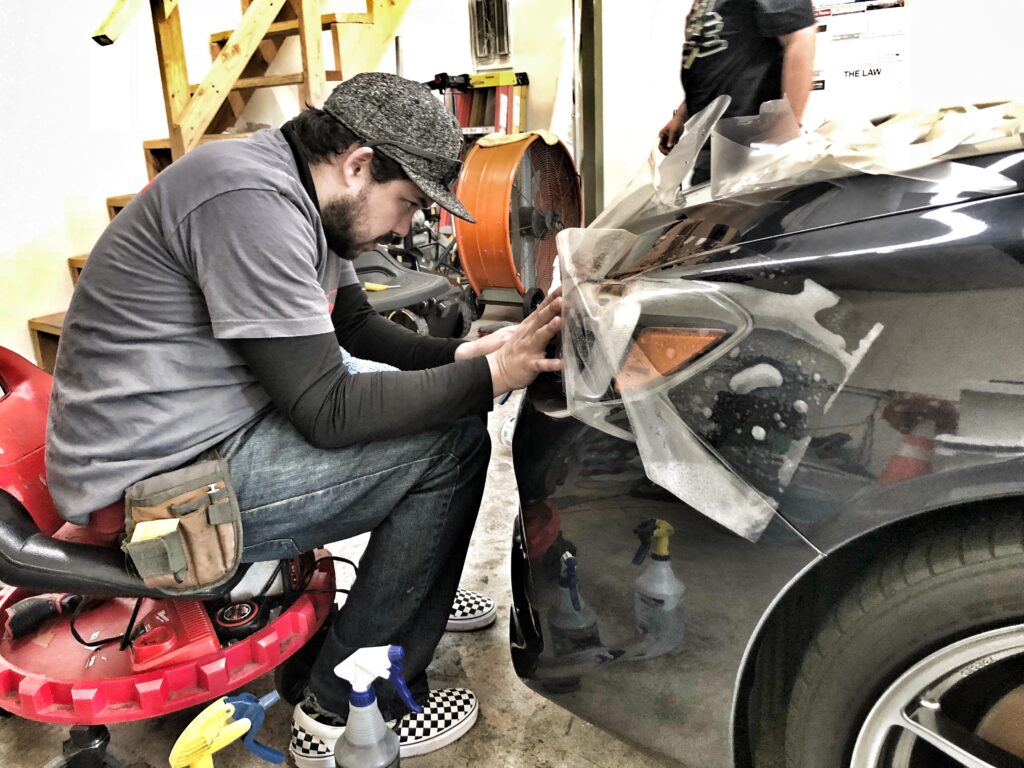
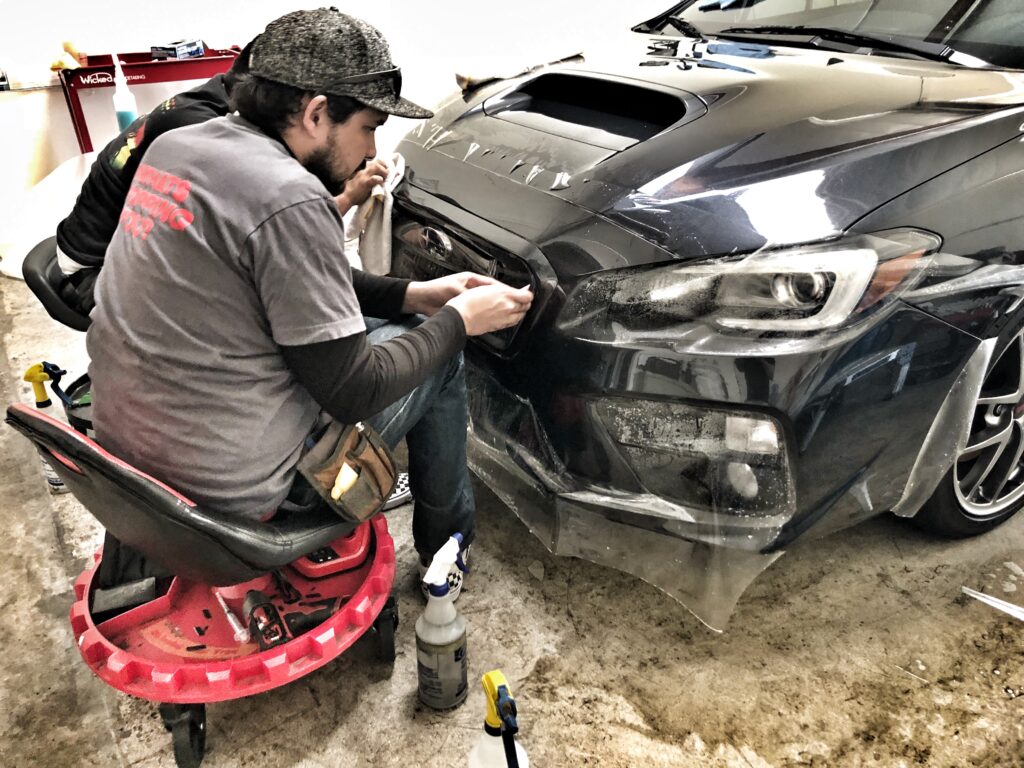
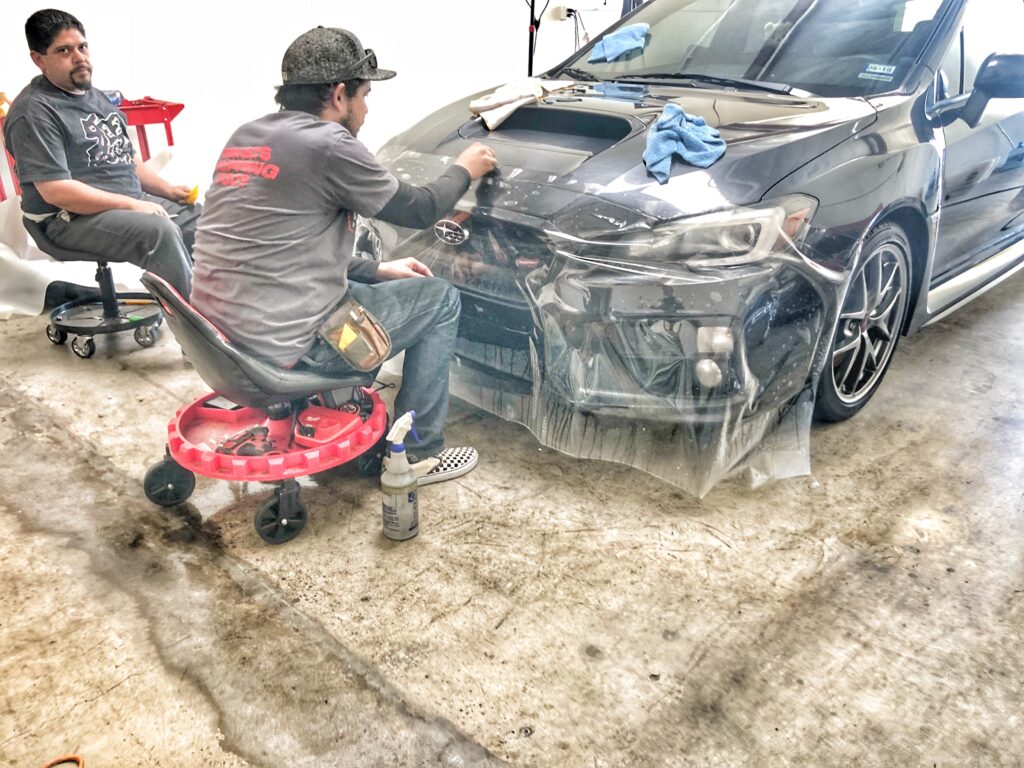
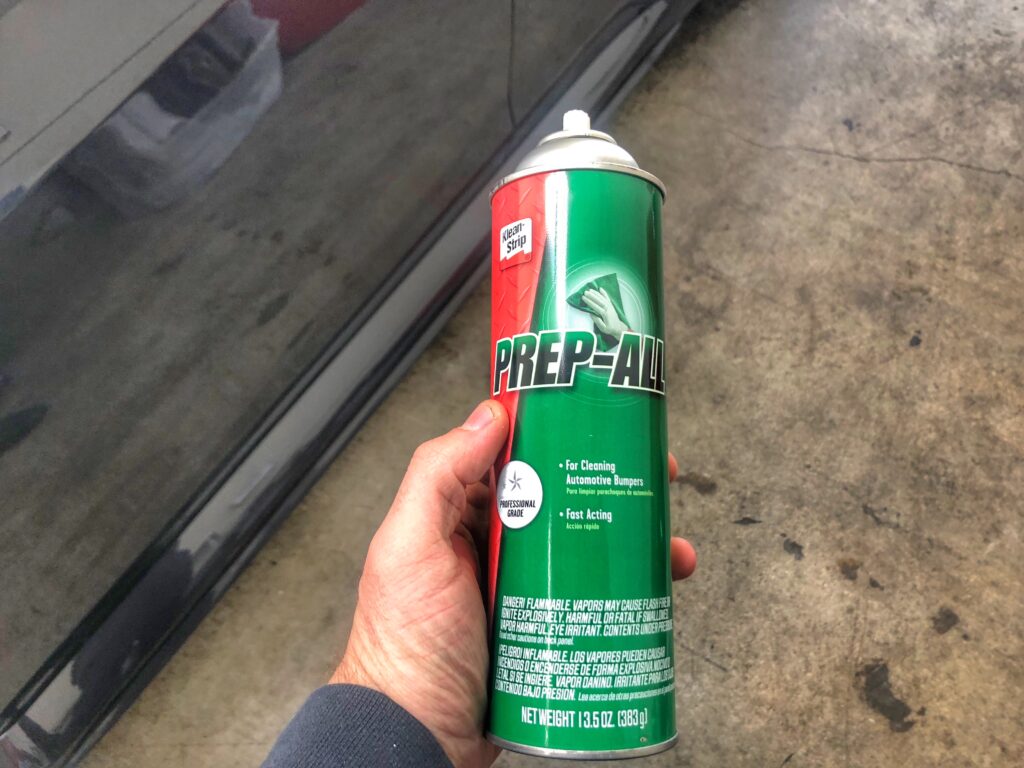
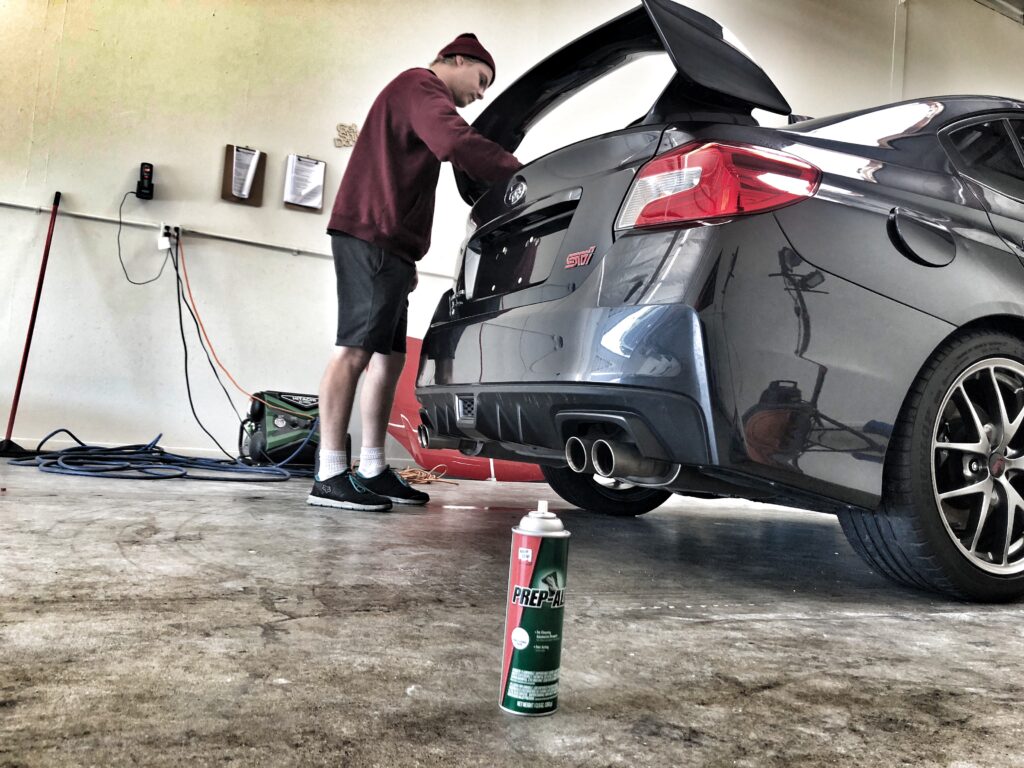
With paint protection film laid down its onto coating! First we have to remove all polishing oils by spraying the car down with prep all wax and grease remover, this works better than your typical detailing IPA cleaner.
Generally for any coating 2 year and above we pull the wheels off for cleaning/coating so we can reach the barrels and also coat your brake calipers. Unfortunately this guy was missing his lug nut key so we had to do our best to coat the wheels on the car. We use Feynlab Wheel/Caliper coating and an airbrush. Using the airbrush allows for us to reach all the crevices of the wheels (especially helpful on 3 piece wheels where you cant possible coat inbetween all the screws) and also allows for a much thicker coating. Using just a microfiber applicator block as many people do can leave sections of the wheels uncoated or have an uneven coating. When we airbrush it doesnt leave streaking or high spots so there is no need to level it with a towel and remove potential protection.
For Coating we went with our Feynlab Ceramic. This is a pretty resilient and very glossy 3 year coating, and perfect for your 3 year lease. It is really hydrophobic, very tough and resistant to chemicals, super glossy and very easy to maintain. This is one of my favorites for our lower level coatings. We top this off with Feynlab Topcoat which is a very hydrophobic and water repelling topper.
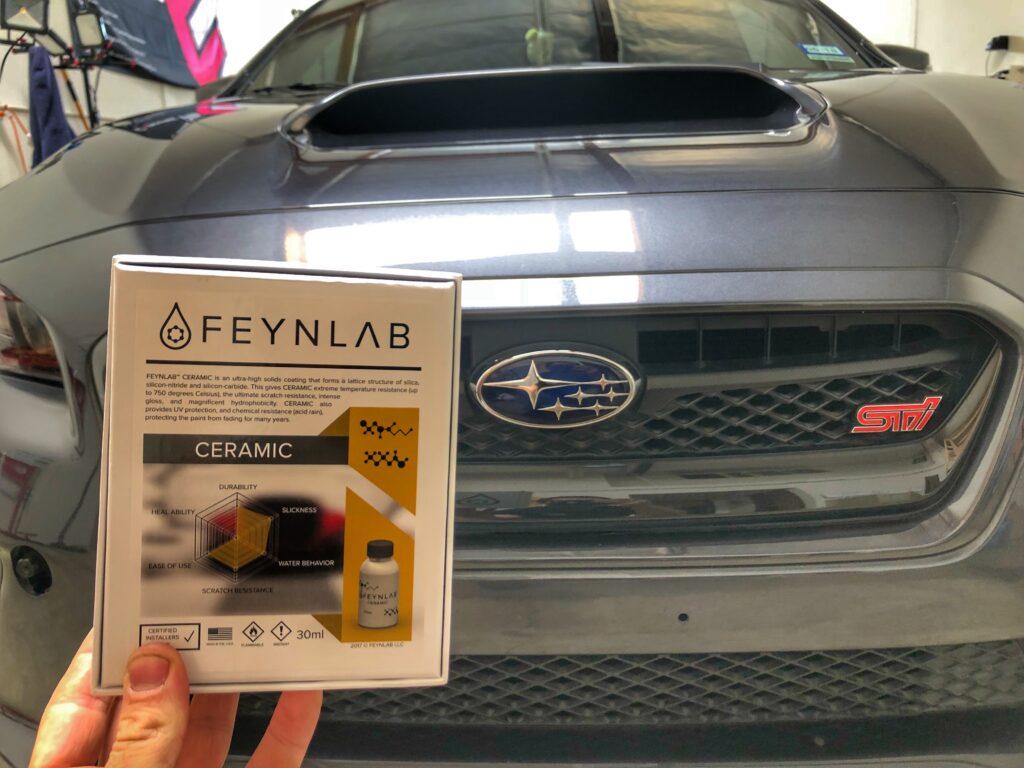
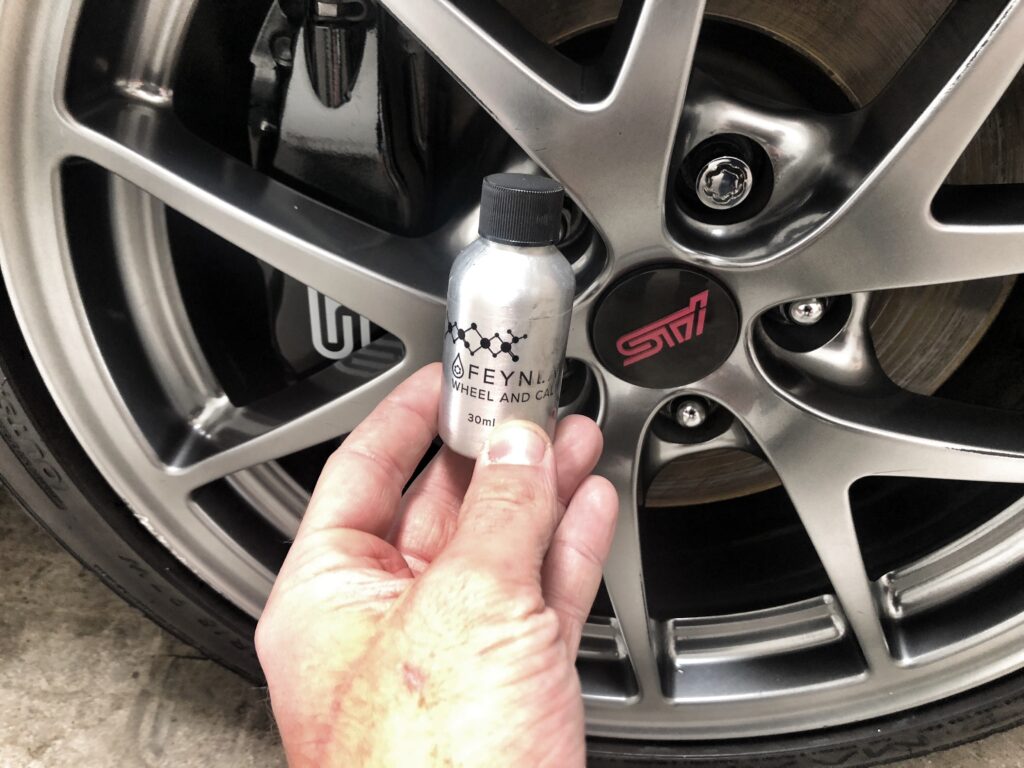
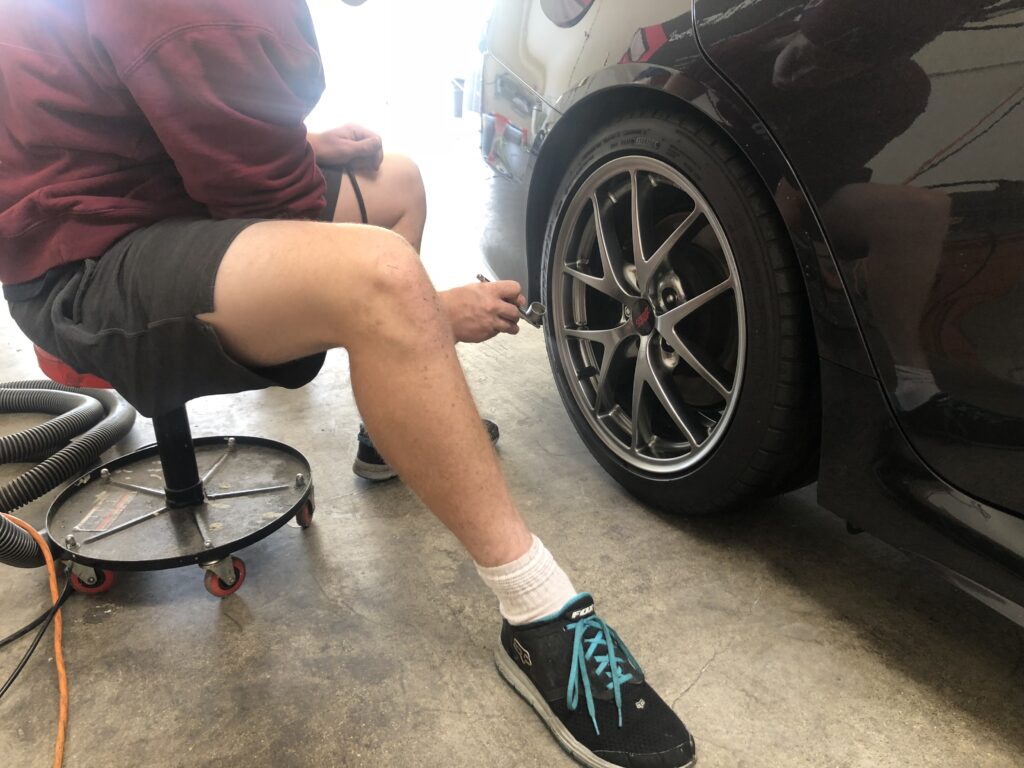
Coating process is generally pretty easy with this, still takes some time but it is not difficult to get on the paint. This is applied with a microfiber applicator, we do 5-6 drops of product on the pad and wipe it on the paint. We wait about 3-4 minutes for it be just about 50% dry on the paint before spraying a leveling aid on top which helps for easy wipe off and strengthening of the coating.
We work in 2×2 sections so it takes quite a while to get around the whole car but once we do you can see that the color depth in the car has already changed greatly and the gloss is already pretty intense for just our bottom coat.
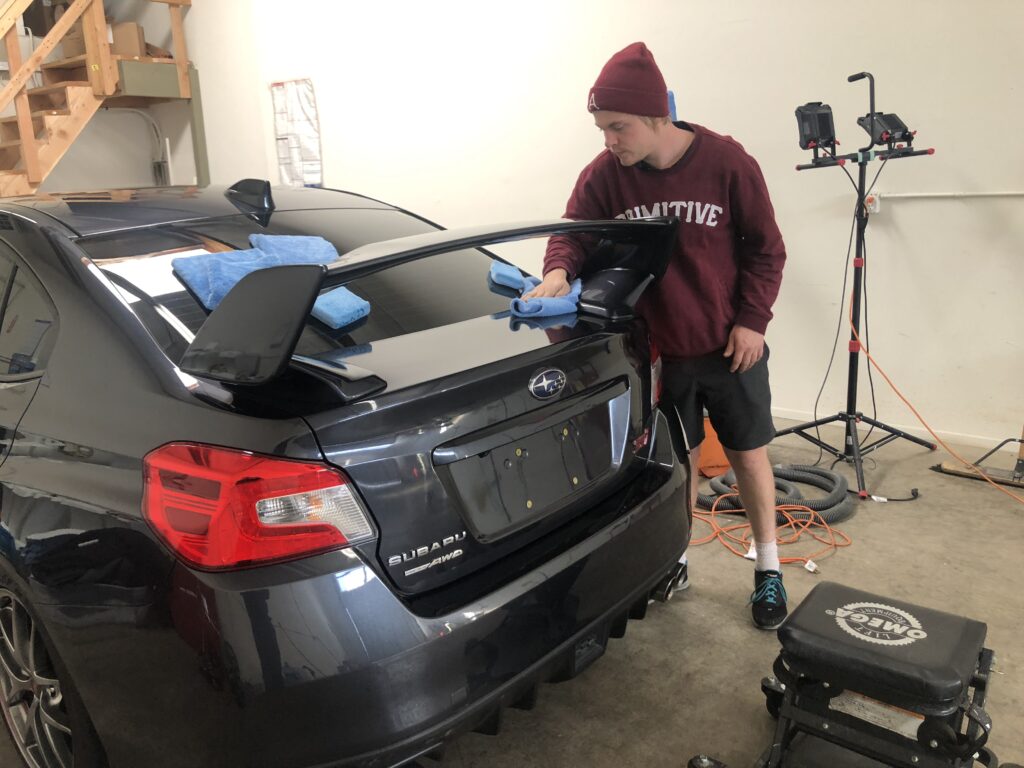
After coating comes the small details that are what separate the men from the boys such as cleaning out all the cracks and crevices, door jams, trunk jams, under the hood, clean up the interior etc. I see these things overlooked on many cars that come in, I find wax or compound in the door jams or cracks between panels that was never cleaned out from a previous detailer or spots on the paint that were just looked over completely, its unfortunate but its the reality of going to the money saver detailer.
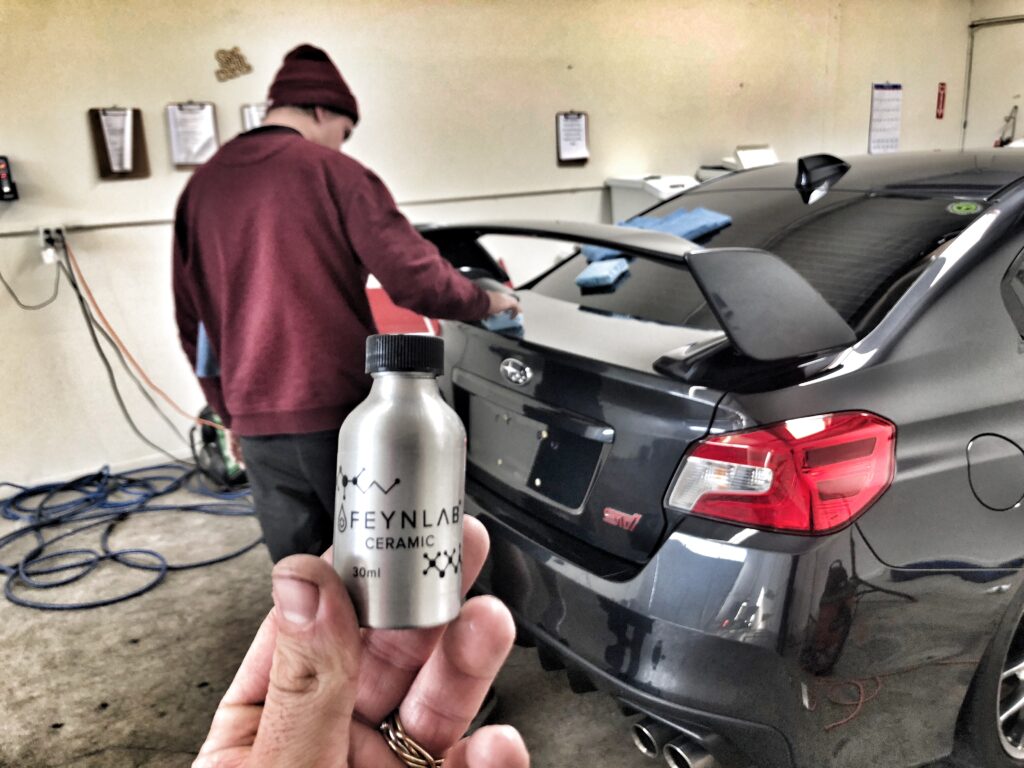
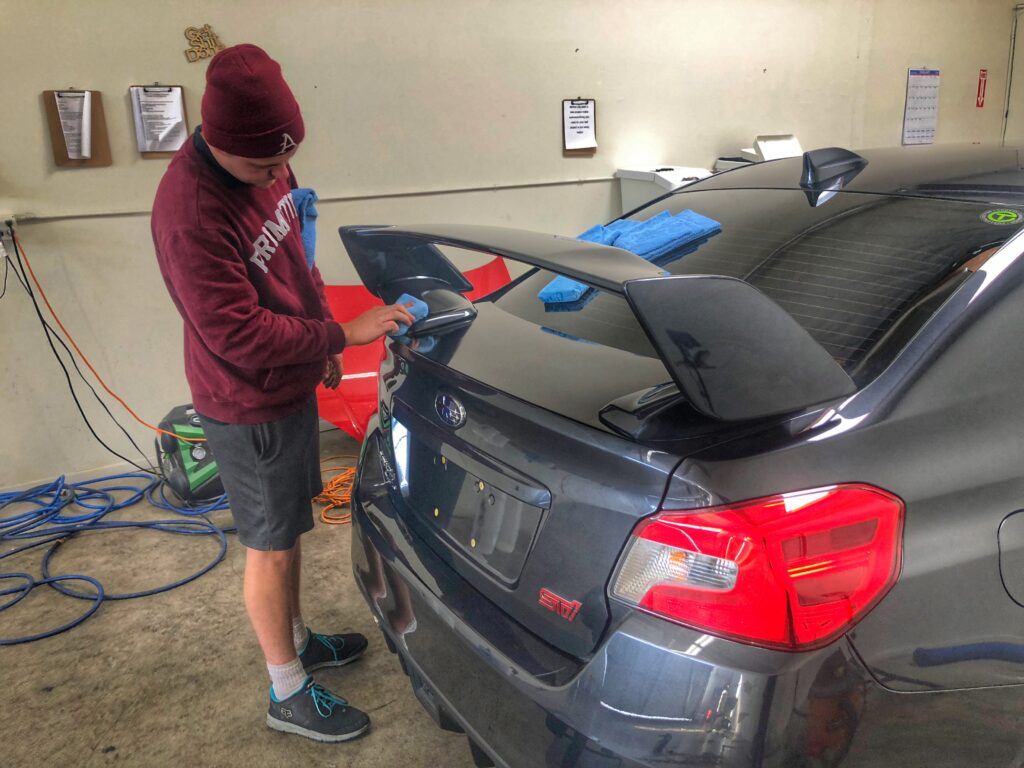
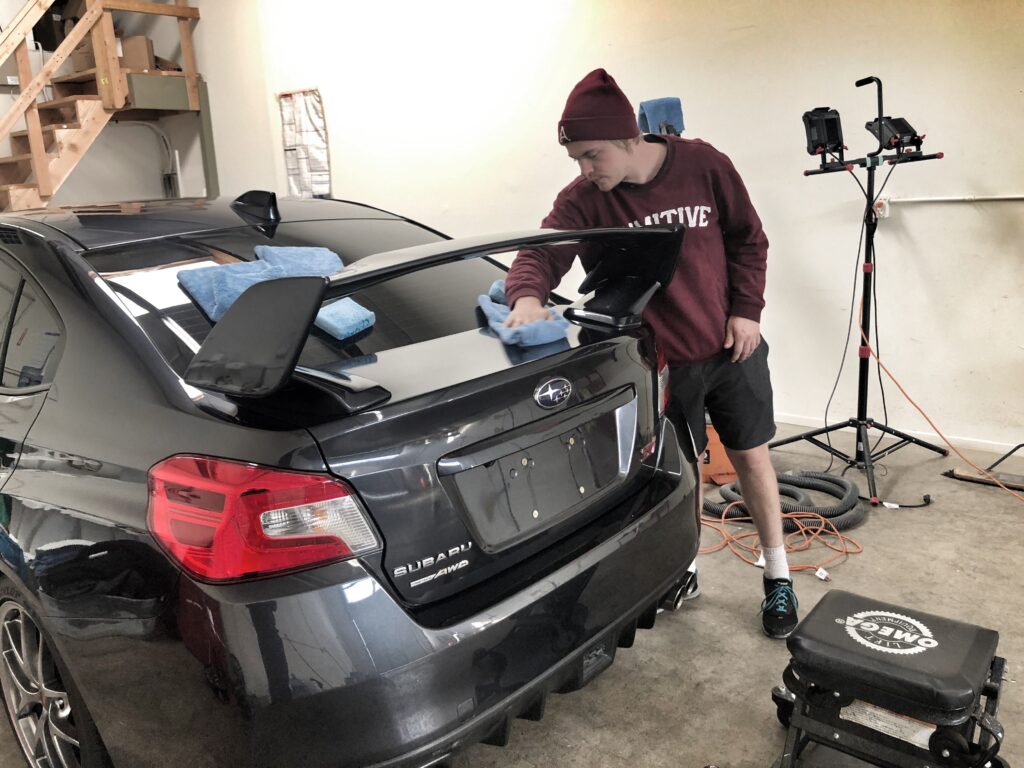
So before I post the completed pictures lets go over what was done here. I’ll list the cost for this vehicle but it varies so don’t go reading this article and think your car will cost exactly the same.
For this guys 3 year lease:
We fully decontaminated the paint for proper coating adhesion
We did one stage of paint correction to remove swirls/scratches/level out the clearcoat
We applied Nano Fusion paint protection film to the front bumper to prevent rock chips in the paint to prevent repaints within the next 3 years
We applied a 3 year ceramic coating from Feynlab which last the duration of the lease and keep the car easy to wash, no more need for waxing or spending money on details, protects from chemical stains, protects from bird poop and tree sap stains, has light scratch resistance and gives that always new look after a wash.
We applied Feynlab Wheel and Caliper coating to the wheels and calipers which will make cleaning brake dust off far easier and prevent it from eating through the paint on the wheels
We vacuumed and wiped down the interior to make it look more presentable
We covered all the bases for a good detail and good protection without breaking the bank. The total out of the door on this job for everything was $2450 and took 2 days to complete.
Over the next 3 years this guy will probably save a few thousand as he does not have to wax or detail his car, just wash to maintain which is very low cost.
Over the next 3 years this guy will have a car that always looks good and will pick up a minimal amount of damage.
At the time of lease return if the car has been well maintained and kept within its set mileage, it should look almost as good as it did when he bought the car.
Remember detailing and protection is all about protecting your investment, although it is a lease it will still need protecting since you are technically borrowing the car from the dealer and it must be brought back in in similar condition.
This is what we recommend on most leased vehicles, it is affordable and provides adequate protection. If you’d like to book your leased vehicle protection package give us a call at 714-617-5199 or reach out to us on our website request form.
www.wickedautodetailing.com
Thanks for reading! Until next time!

